
October 29, 2014 09:37 by
 Peter
Peter
In this article you'll learn the way to add a new FTP site on IIS 8. Before going through this article make sure that FTP and IIS are installed on your system. If you wish to find out a way to install IIS then you'll go through this article: Installing IIS. Now allow us to see the procedure needed to add a new FTP site on IIS 8.
Step 1. First of all Open the Administrative Tools from the START Menu.
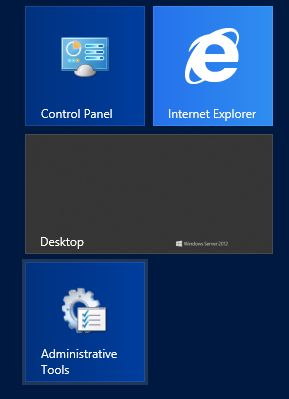
Now within the Administrative Tools, there is several options will be available within the list among that you need to choose the IIS Manager and so double-click on that to open it.

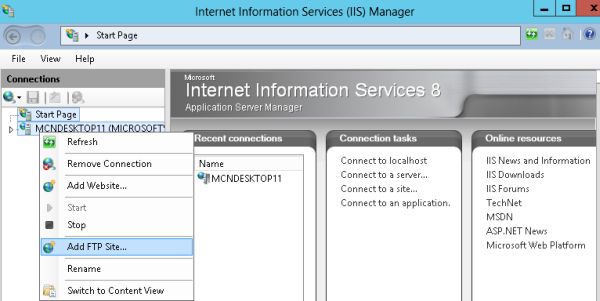
Step 2. Now the IIS Manager Window are going to be opened. On the left hand side you'll see a pane named Connection Pane, within the Connection Pane a Server node are going to be available, you need to expand this Server node and so right-click on your Server name and so choose the option named Add FTP site.
Step 3. A new form are going to be opened. Now you need to give the site information that you just that you aiming to create, 1st give the name for this New site and then give the Physical Path by clicking on the Browse Button. This physical path can verify a folder wherever the Content Directory are going to be created.
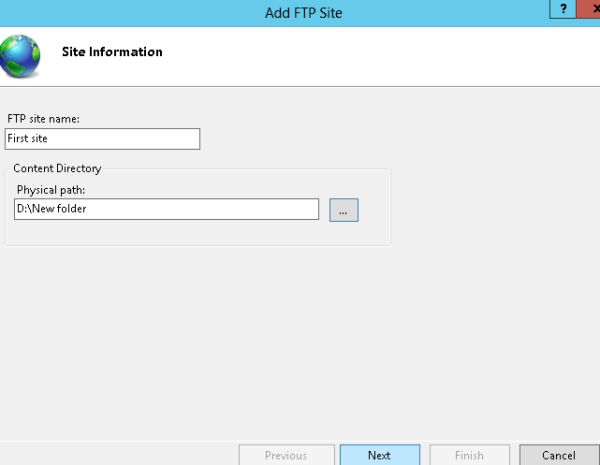
After select the Name and Physical Path click on the "Next" button.
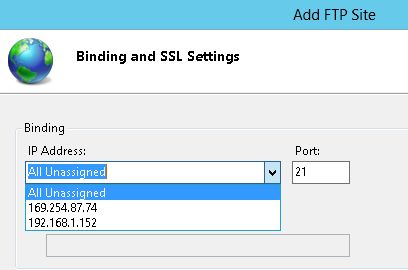
Step 4. Next, named as Binding and SSL Settings. You must fill the IP Address. Click on the drop down Button and so choose the IP Address, if you do not have any IP Address then you'll choose an option available named All Unassigned. After providing the IP Address, give the Port number.
Step 5. On an equivalent page Uncheck the start FTP site automatically. In SSL 3 options are going to be available, among these choices I selected the third option, in alternative words need SSL and then I give the SSL Certificate. After give all that information click on "Next".
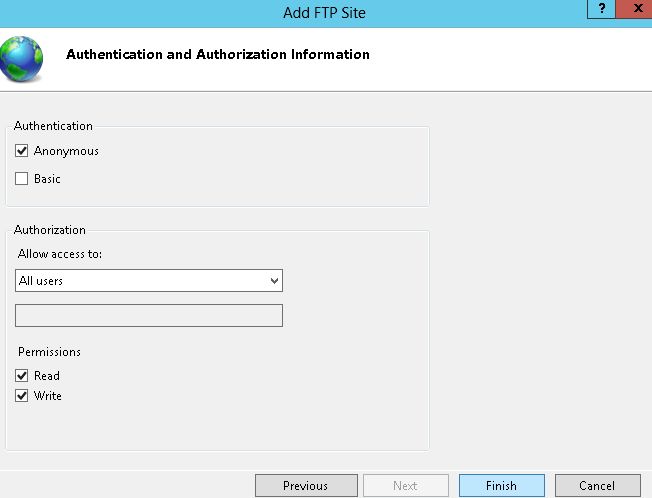
Step 6. On the next page Authentication and Authorization is to be provided. On Authentication Permitted if you want to permit all the users then you'll check the "Anonymous" otherwise you'll check the "Basic".
In the Authorization I permit all users authorization to Permitted and Write, you'll provide no matter authorization that satisfies your needs. After providing all the information, click on the "Finish" button to create the site.
Step 7. Now in the Sites you'll see that the new website is available under the IIS Default web site.
