This article walks you through the process of installing and publishing a.NET 7 application to Internet Information Services (IIS).

Step 1: Configure IIS (Optional)
If IIS is not already configured, we can use the procedures below to enable it.
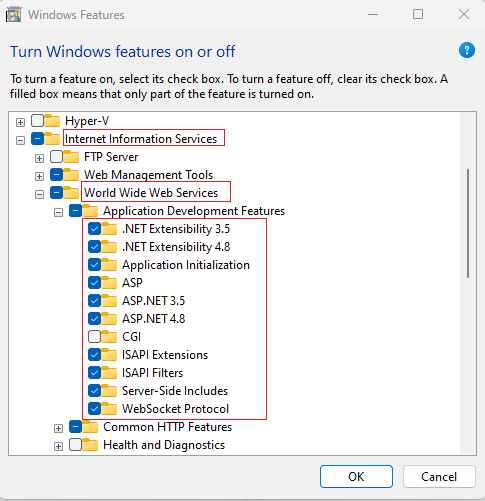
Navigate to the Control Panel > Programs > Programs and Features > Turn on or off Windows features.
Increase the availability of Internet Information Services, World Wide Web Services, and Application Development Tools.
Step 2: On the IIS server, install the.NET Core Hosting Bundle.
Check that your server has IIS installed and configured correctly. Otherwise, you can proceed with the optional procedures listed above.
Ascertain that the required components for hosting.NET 7 applications are enabled. The hosting package includes the.NET Core Runtime,.NET Core Library, and the ASP.NET Core Module.
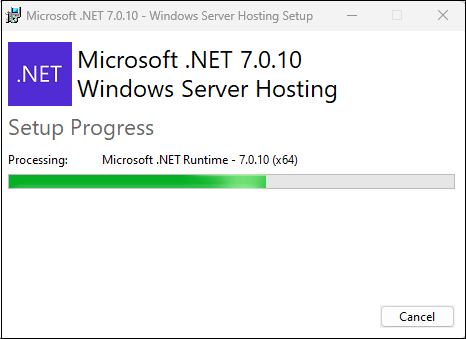
After installation, please restart the server.
Step 3: Save to a File Folder
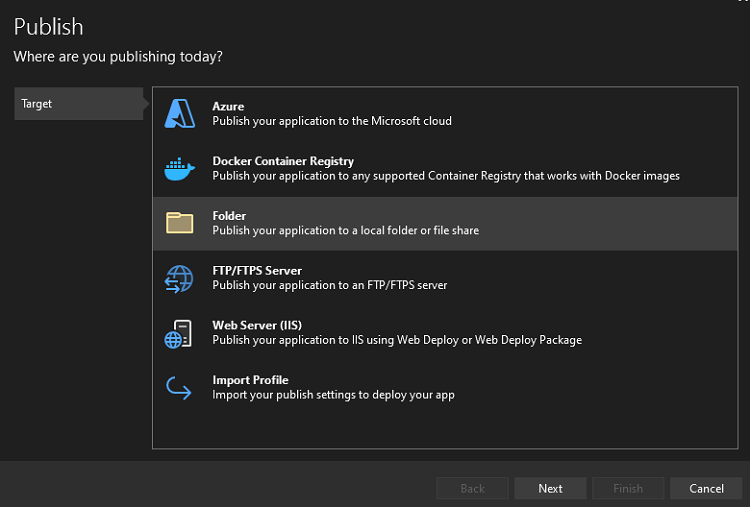
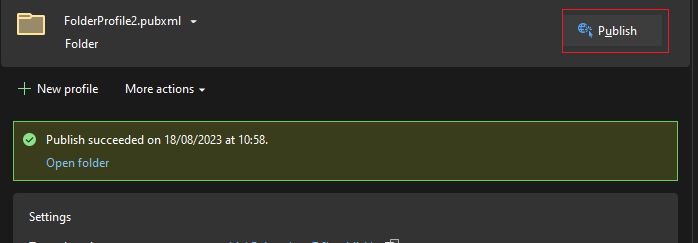
Right-click the project you wish to deploy in Visual Studio and select publish.

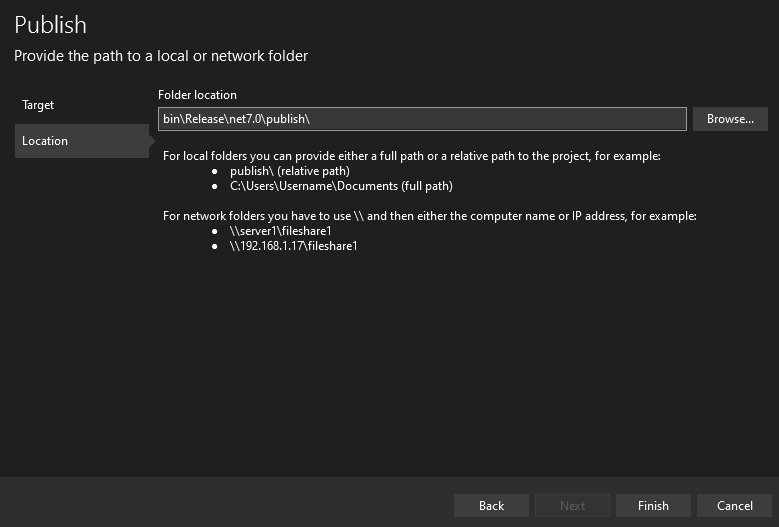
Click on Folder > Next > Folder location will populate the default path as “bin\Release\net7.0\publish\”. > Click on Finish > Publish.
OPTIONAL - An alternative method for generating published files,
Navigate to the root directory of your.NET 7 project in a terminal.
To publish your application, use the following command:
dotnet publish -c Release -o PublishOutput
This will compile your application in Release mode and generate the necessary files in the Publish folder.
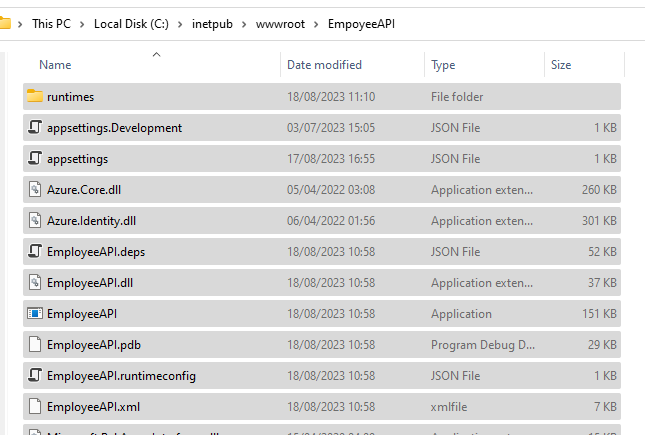
Step 4. Copy Files to Preferred IIS Location
Now, copy the published files to the location where they should be stored. In our case, let's copy the files to C:\inetpub\wwwroot\EmpoyeeAPI.
Step 5: In IIS, create an application and configure the application pool.
On your server, launch the IIS Manager.
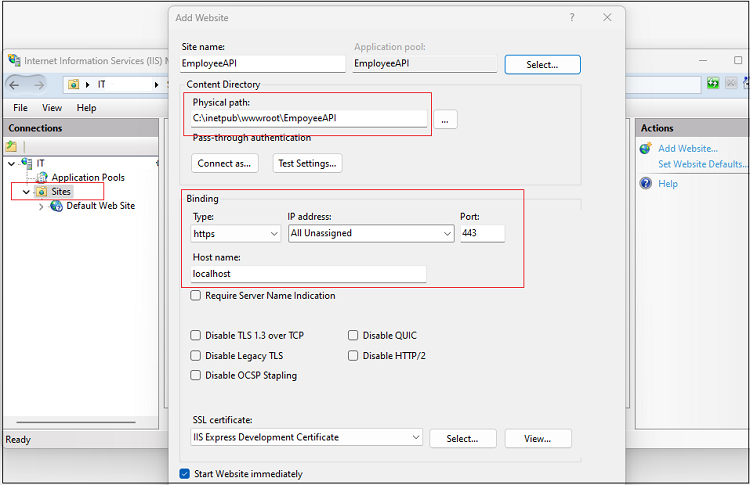
To host your application, either create a new site or use an existing one. Select "Add Website" from the context menu when you right-click on the "Sites" node.
Provide a site name, a physical path (to the previous step's PublishOutput folder), and an optional hostname.
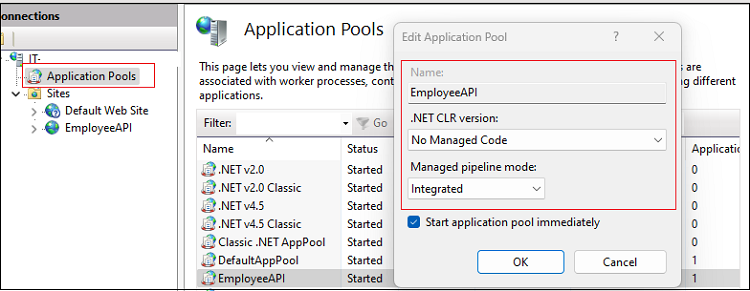
Because.NET 7 uses the.NET Core runtime, make sure the.NET CLR version is set to "No Managed Code."
Select Application Pools > Choose the name of the application pool > Configure the.NET CLR version to "No Managed Code" > Select "Integrated" as the pipeline mode.
Step 6. Test your app after deployment
After configuring the site, try accessing it through a web browser. Make sure everything is working as expected.
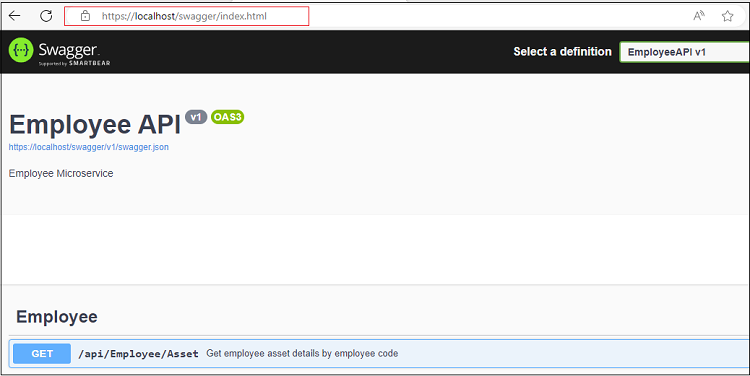
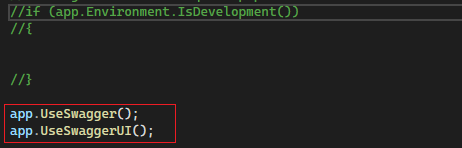
Important note: Because we are delivering Web API in our situation, the Swagger UI middleware is often retained within the app.Environment.Check the IsDevelopment() function. I kept this swagger middleware outside of this condition for demonstration purposes so that we could test the page in a browser.