How to publish ASP.NET Core 8 on IIS (Internet Information Service)?
In this article, I presume you already have a pool on your Windows Server IIS.
Follow the steps to understand the tricks for publishing ASP.NET Core 8 applications under IIS environments.
You need to set up your code to support IIS and configure the project to run on the architecture from the target pool.
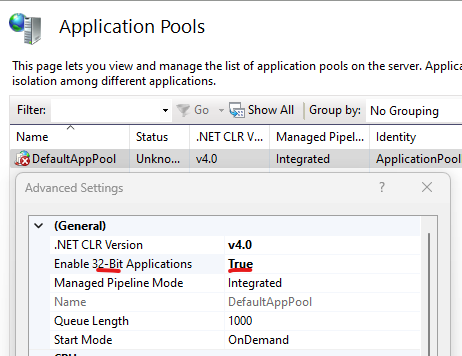
To check if your pool is running on x86, verify the inetmgr console, verify the Advanced setting... and check if Enable 32-Bit applications is set to true.
Let's do the steps to publish
Step 1. Start your new ASP.NET Core MVC.
dotnet new mvc -n MyTestApp

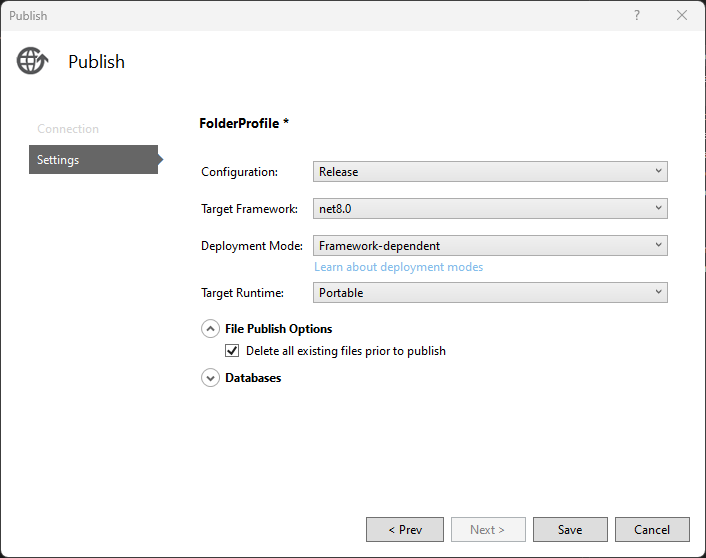
Step 2. If you compile the application and start publishing, you face these default parameters.
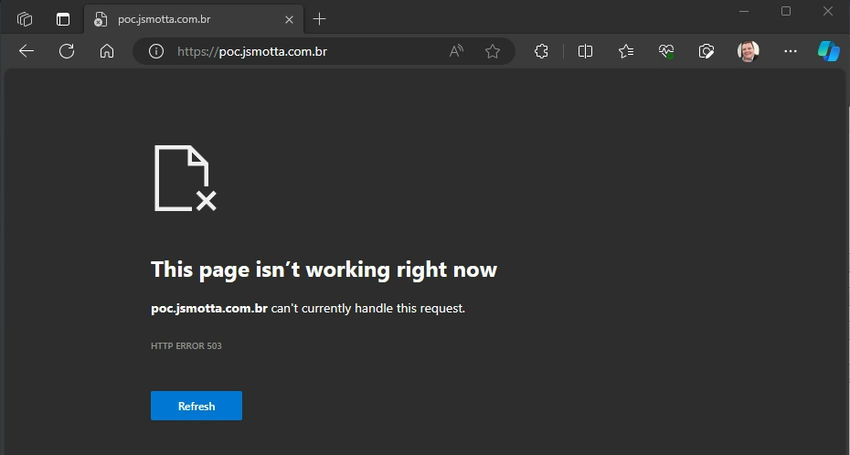
Step 3. I tried to publish and got an error 503. It's normal, this is what we will fix.
Step 4. So I added this code to Program.cs to enable IIS Server options.
builder.Services.Configure<IISServerOptions>(options =>
{
options.AutomaticAuthentication = false;
});
Step 5. Open the solution configuration, and choose New... from Active solution platform.
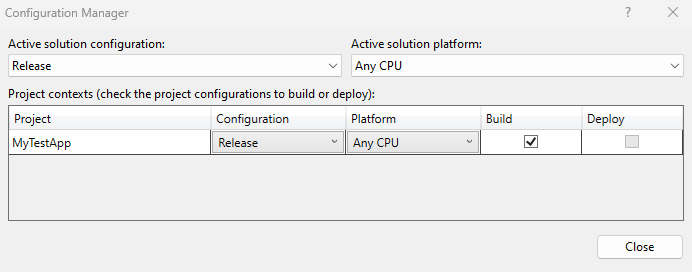
Step 6. Choose your architecture pool. It should be the same as the pool on IIS (x86 for 32-Bits).
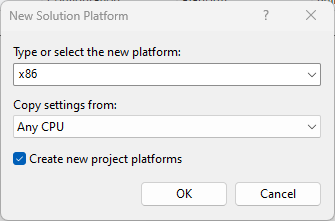
Step 7. It will look like this.
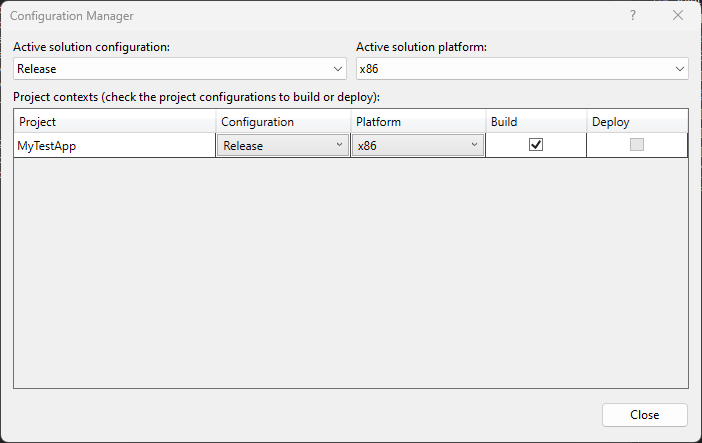
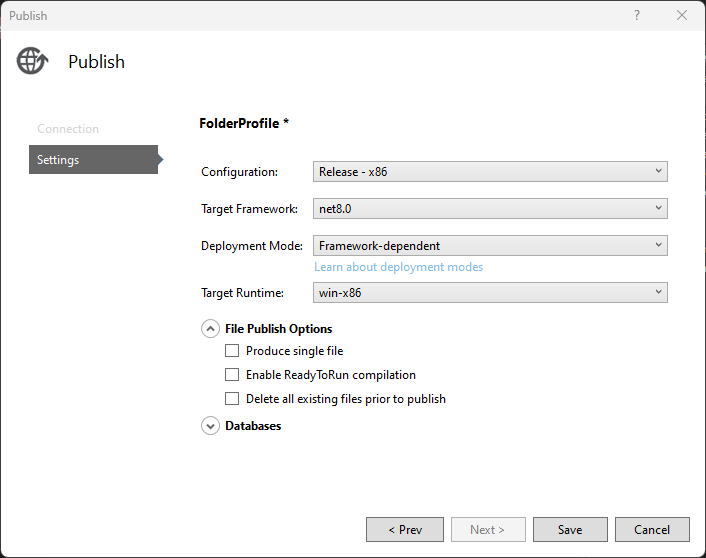
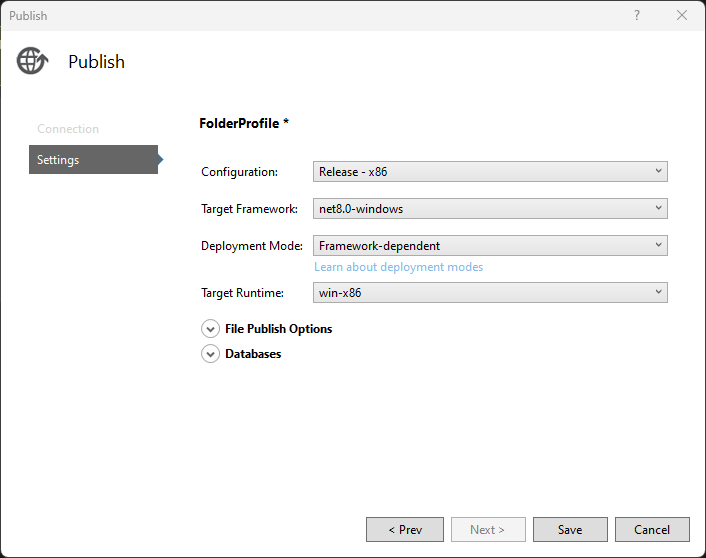
Step 8. Back to Publish configuration, you need to change for this.
Step 9. But you will get the same error if you try to publish.
Step 10. To fix this, you need to configure your application to run under Windows, adding <TargetFramework>net8.0-windows</TargetFramework>, unload the project and edit it.
<Project Sdk="Microsoft.NET.Sdk.Web">
<PropertyGroup>
<TargetFramework>net8.0-windows</TargetFramework>
<Nullable>enable</Nullable>
<ImplicitUsings>enable</ImplicitUsings>
<Platforms>AnyCPU;x86</Platforms>
</PropertyGroup>
</Project>
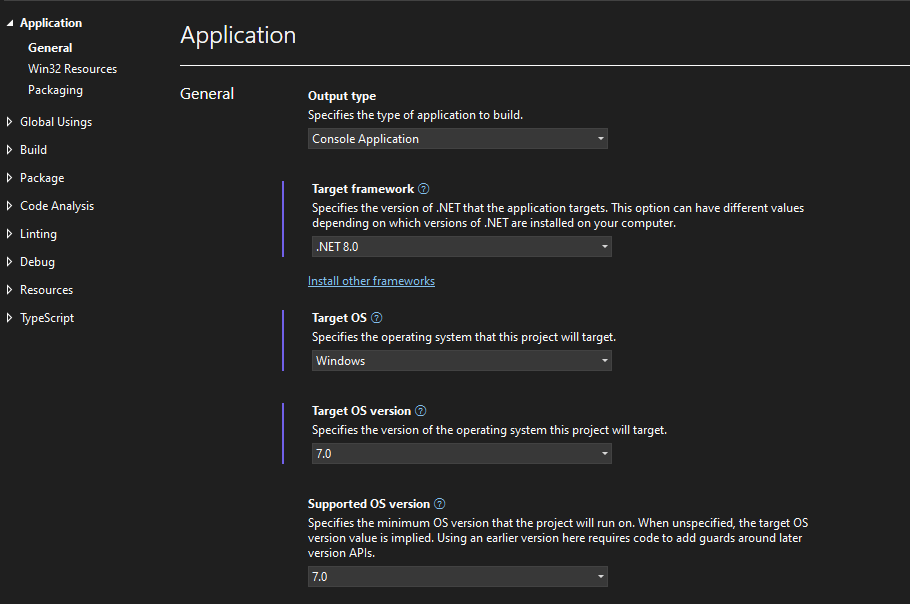
Step 11. Now, if you open the Properties of your application, you will see that it is enabled to Target OS version 7.0.
Step 12. Now, you need to select the Target Framework: with "net8.0-windows":
Step 13. Before publishing a dotnet, copy the file app_offline.htm to the target IIS installation folder. This turns off the website so this message is displayed if you try to use it:

Step 13.1. Extra source code, Microsoft default source code. If the file name app_offline.htm indicates to dotnet that the execution should be terminated, it automatically redirects to it. You can customize this file as you like.
<!doctype html>
<title>Site Maintenance</title>
<style>
body { text-align: center; padding: 150px; }
h1 { font-size: 50px; }
body { font: 20px Helvetica, sans-serif; color: #333; }
article { display: block; text-align: left; width: 650px; margin: 0 auto; }
a { color: #dc8100; text-decoration: none; }
a:hover { color: #333; text-decoration: none; }
</style>
<article>
<h1>We’ll be back soon!</h1>
<div>
<p>Sorry for the inconvenience but we’re performing some maintenance at the moment. we’ll be back online shortly!</p>
</div>
</article>
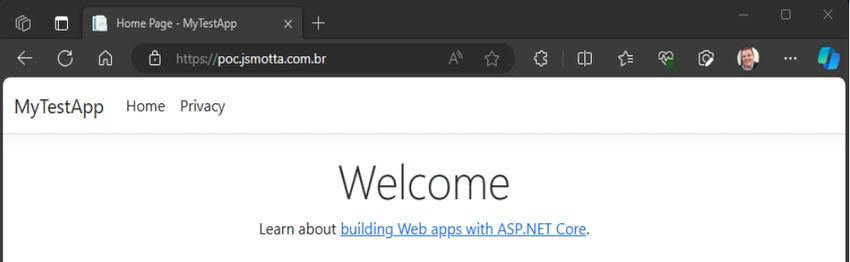
Step 14. Copy the files, then delete the app_offline.htm file to run the application. This is the result.
Conclusion
There are a few steps, but it is essential to follow them to succeed in publishing ASP.NET Core 8 applications.