The File Transfer Protocol (FTP) is a standard network protocol used to transfer computer files from one host to another host over a TCP-based network, such as the Internet. FTP is built on a client-server architecture and uses separate control and data connections between the client and the server. Internet Information Services (IIS, formerly Internet Information Server) is an extensible web server created by Microsoft for use with Windows NT family. IIS supports HTTP, HTTPS, FTP, FTPS, SMTP and NNTP. In this tutorial, I will show you how to install FTP Server in IIS 8 (Windows Server 2012).

Please follow these steps below:
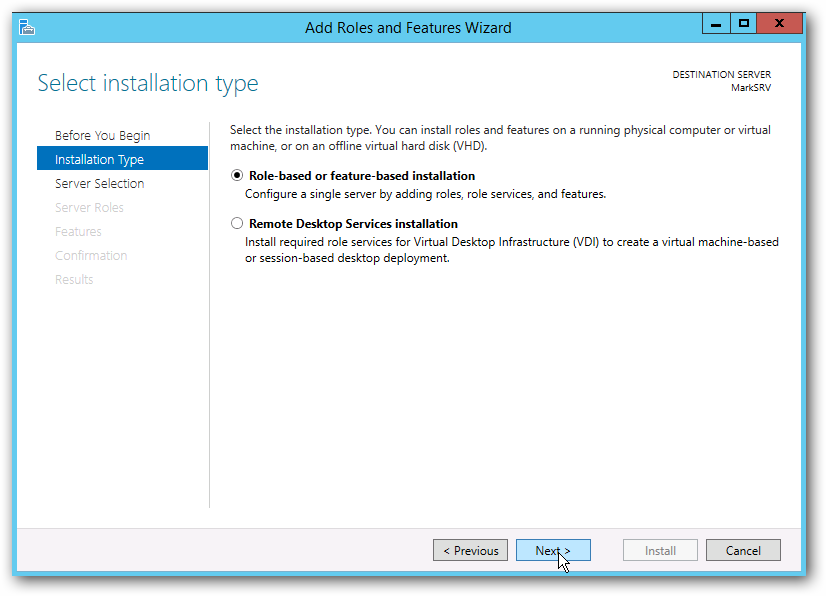
Step 1
Open the Server Manager and click on Manage and select Add Roles and Features. Skip the Before you begin page by clicking on Next button. Then Select Role-based or feature based installation.
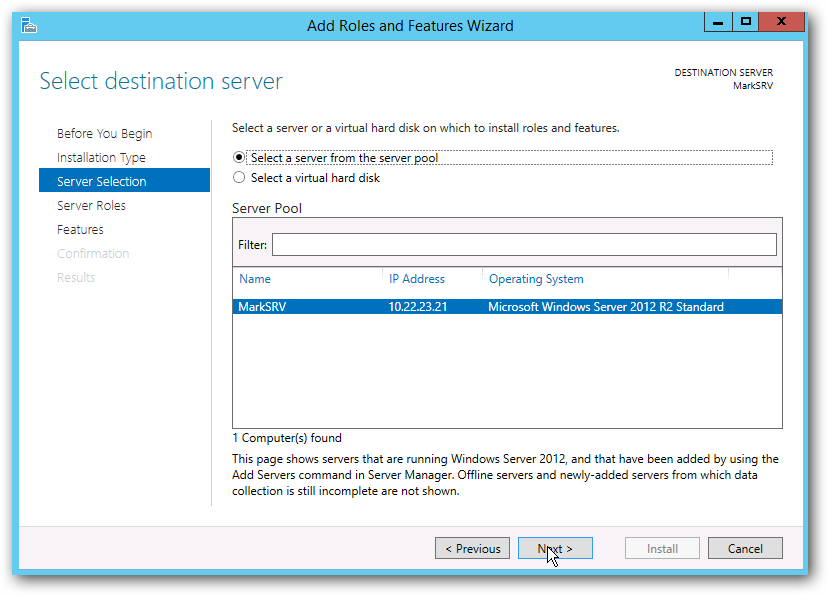
Select the server you wanted to install the FTP Server and click on Next.
Step 2
We must first install the Web Server (IIS) to enable the FTP Server feature and allow to add the pre-requisite to proceed to FTP Server installation.
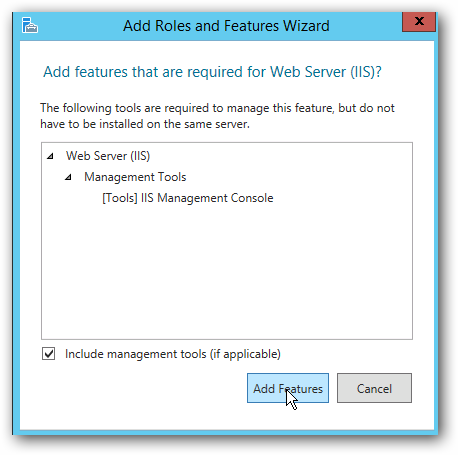
Click on "Next" Button twice.
Step 3
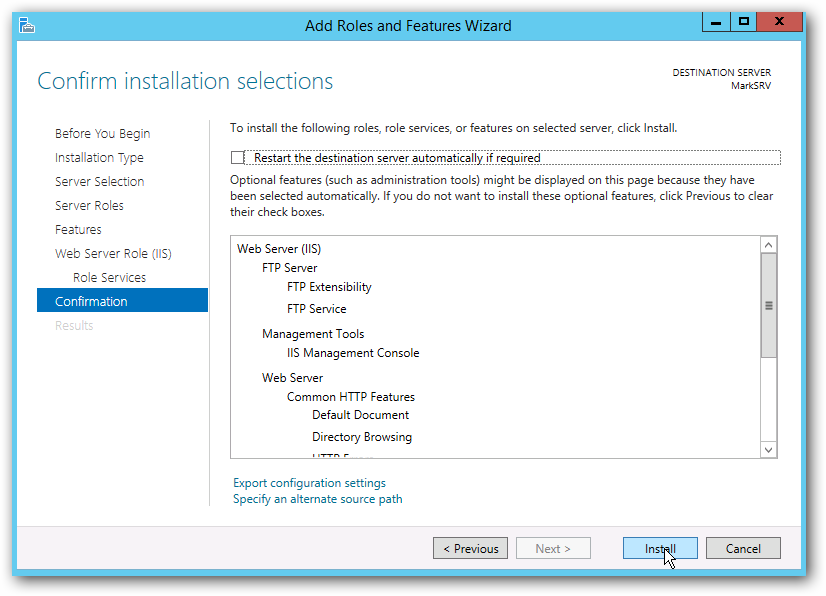
When you are asked to select the role services to install for Web Server (IIS): Scroll down and make sure you have checked the FTP Server role, FTP Service and FTP Extensibility checkbox. Confirm the installation selections and click on Install. Then Click on close when the installation is done.
Step 4
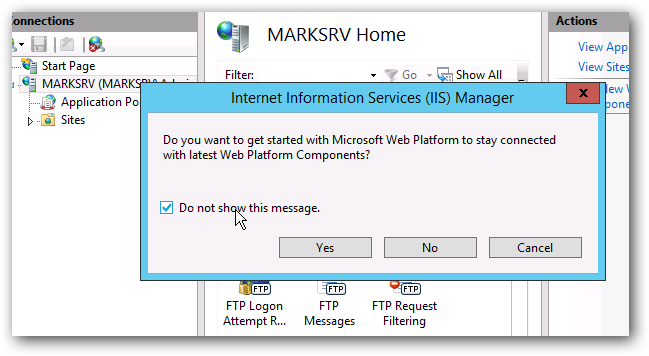
It is now time to configure the newly installed FTP Server: Open your Server Manager and click on Tools then select Internet Information Services (IIS) Manager. You can click on Yes and disable the IE ESC to enable this feature or just click on No.
Step 5
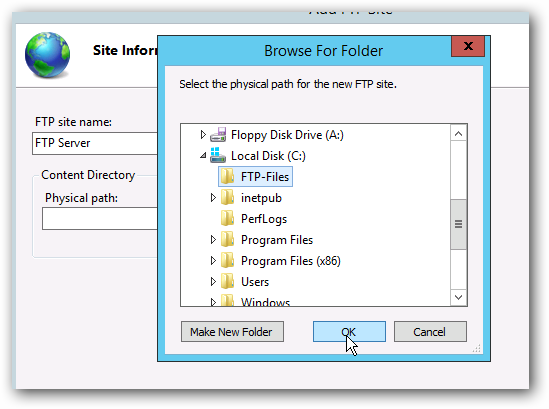
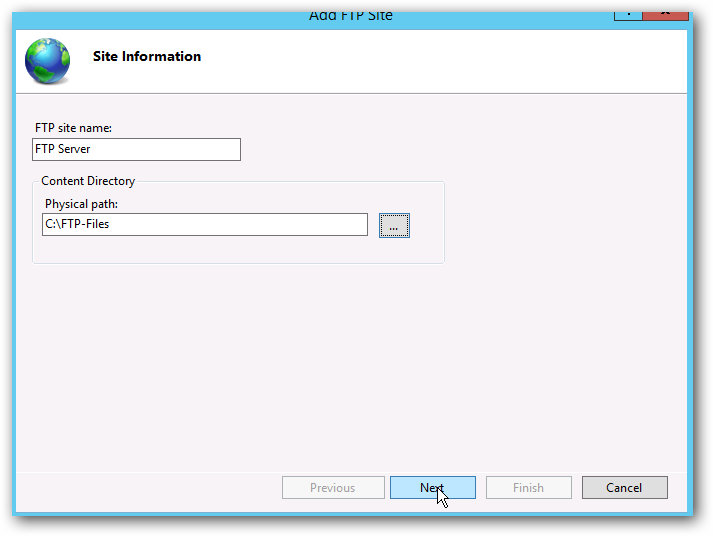
In your Internet Information Services (IIS) Manager: Right click on you Sites and select Add FTP Site. Name your FTP Server and Select the content directory. In this screenshot, I made a folder name FTP-Files and click on OK.
Review the name and path then click on Next.
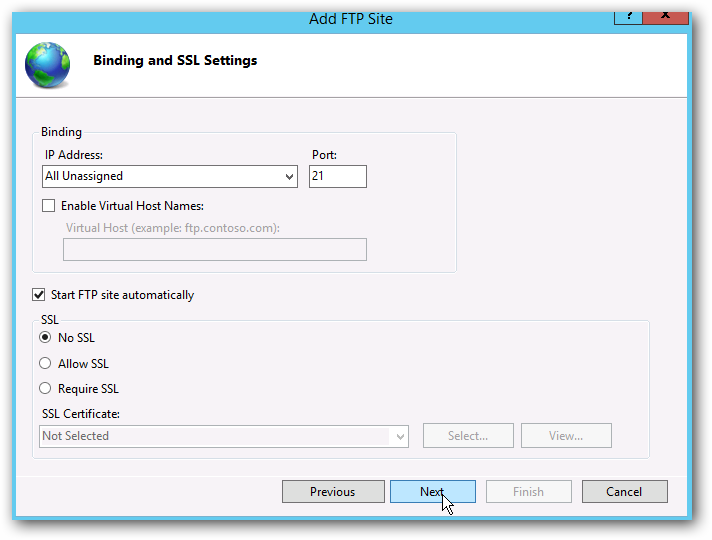
Check the Start FTP site automatically and the No SSL option and click on Next.
Step 6
This option depends on where you gonna use this FTP Server. In this example, I selected the basic authentication and specify the user who could access the FTP Server with Read and Write permission. Once you have decided on authentication and authorization information, Click on Finish.
Step 7
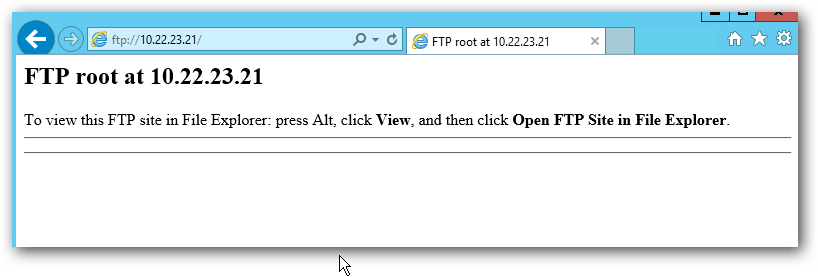
We are now done with the Installation and Setup of our FTP Server. Now its time to test it using your Internet Explorer. Open your Internet Explorer and type in: ftp://ipaddressofyourftpserver. Then Login and test if the authentication is working.
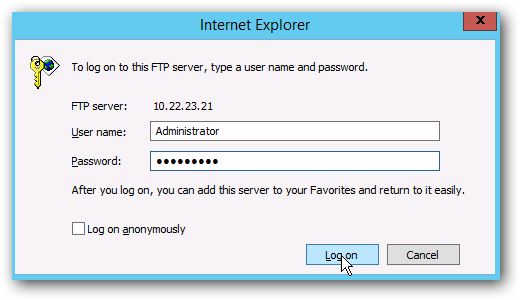
Hey, Its working!
Step 8
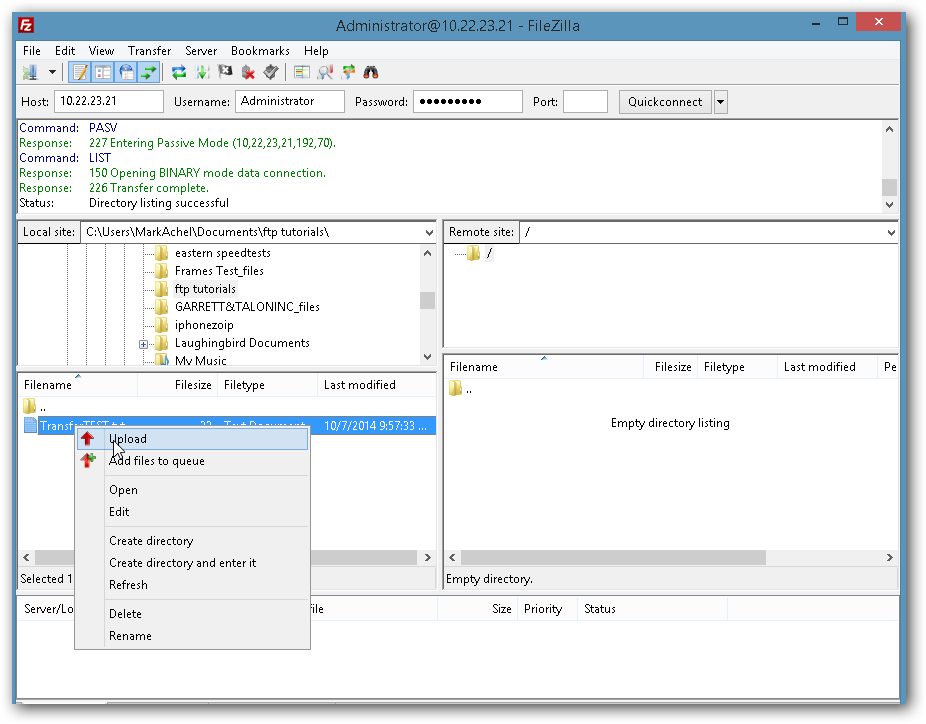
Now try to test using File Zilla or your favorite FTP application. Connect to your FTP Server and upload a test file (Remember to check if you have transferred the file successfully).
Step 9
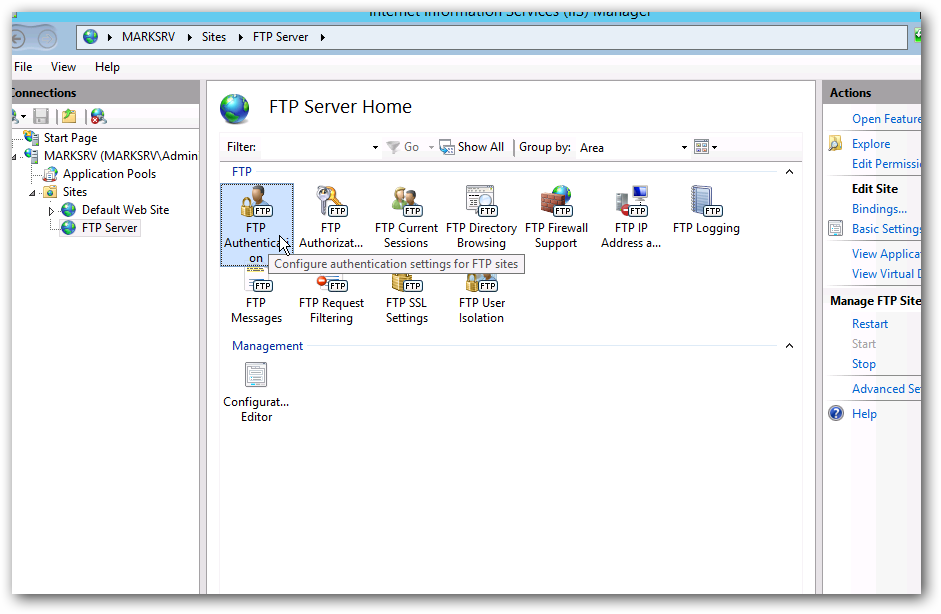
Once everything is working. You might want to tweak some settings according to your FTP needs. Setup SSL, edit authentication and customize your FTP server. Just open the Internet Information Services (IIS) Manager to play around with the settings.
Hope this was able to help you setup your FTP Server in your Windows 20012 Server.
IIS 8.0 with Free ASP.NET Hosting
Try our IIS 8.0 with Free ASP.NET Hosting today and your account will be setup soon! You can also take advantage of our Windows & ASP.NET Hosting support with Unlimited Domain, Unlimited Bandwidth, Unlimited Disk Space, etc.
