
December 5, 2023 08:01 by
 Peter
PeterOverview
In this post, I'll walk you through the process of installing the file server resource manager correctly and quickly.

Prior to proceeding, let us clarify what file server resource manager is. It is a Windows Server role service that helps you organize and manage data kept on file servers. You can use FSRM to automatically classify files, perform tasks based on these classifications, set quotas on folders, and create reports monitoring storage usage.
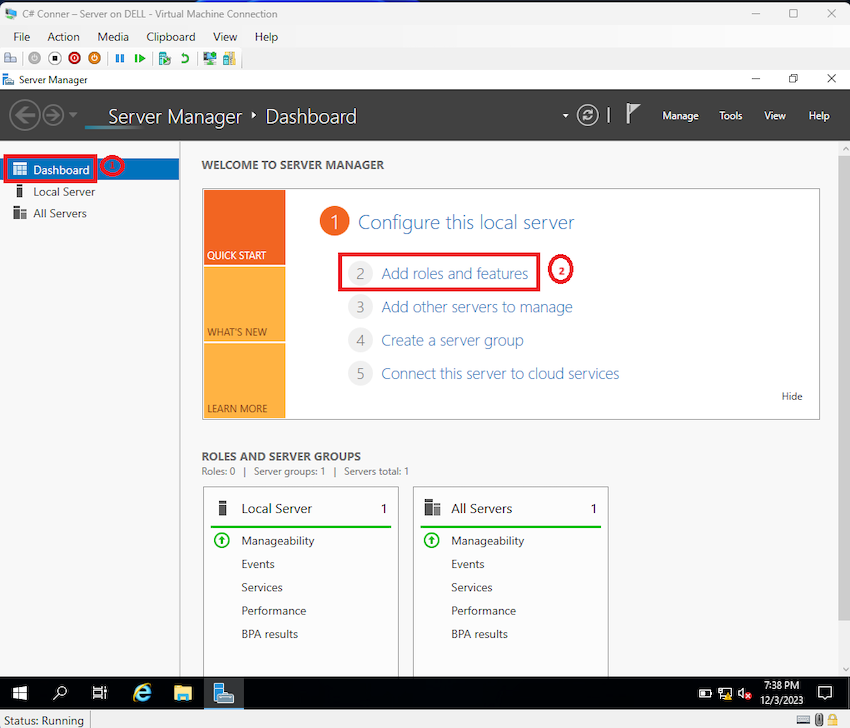
The File Server Resource Manager (FSRM) should be installed first. In your sever dashboard click "add roles and features".
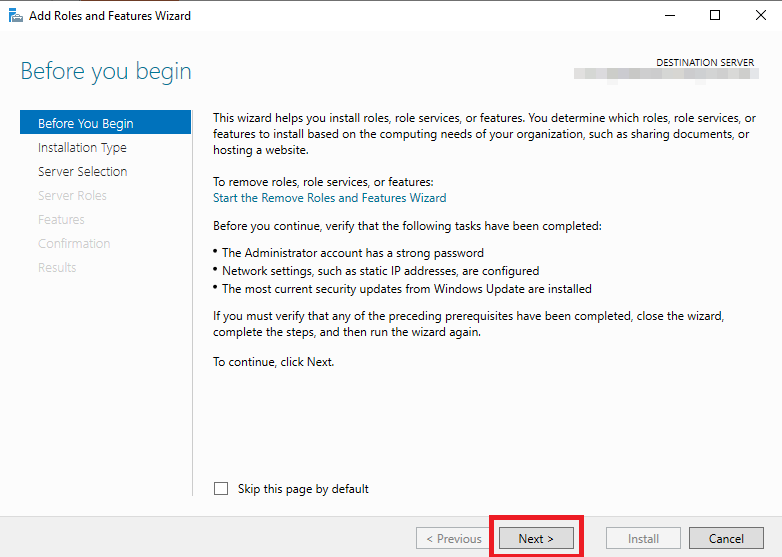
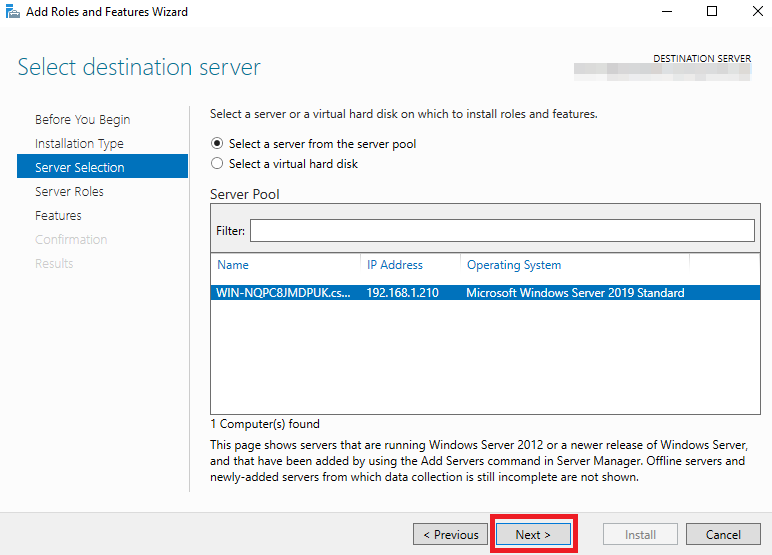
Step 4. Click "next".
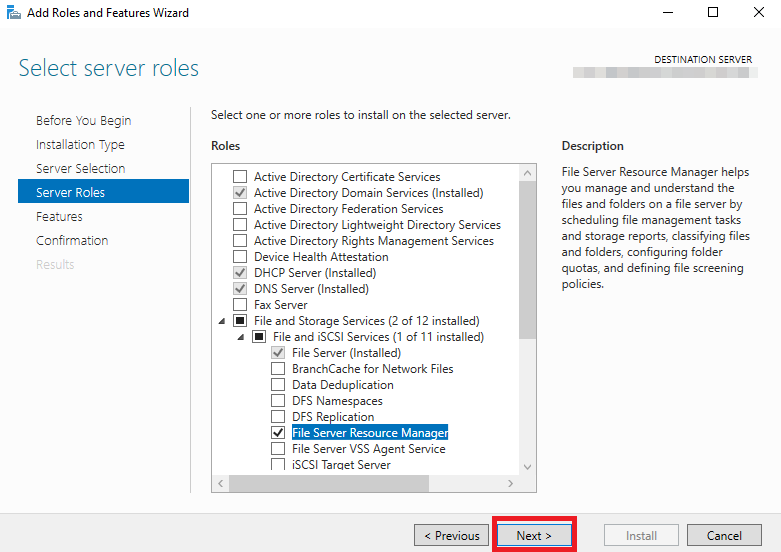
Step 5. Click the "file and storage" arrow mark and again click the "file and iSCSI" arrow mark. After that, select "file server resource manager".
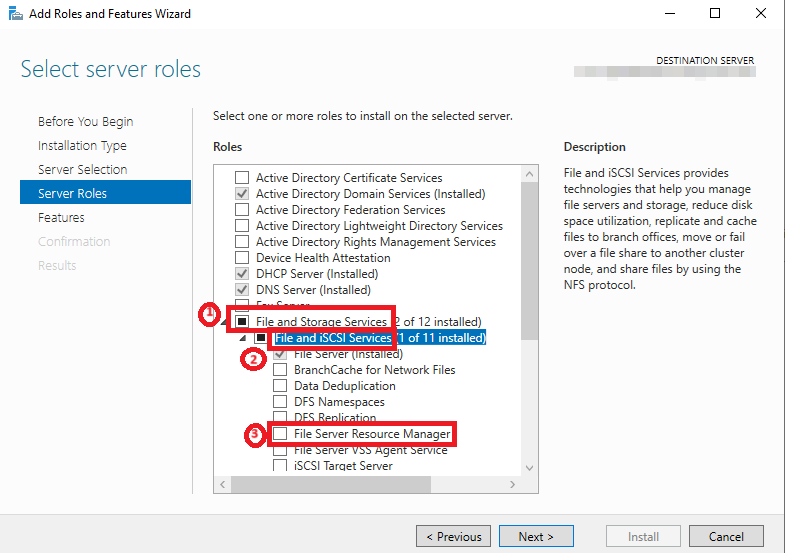
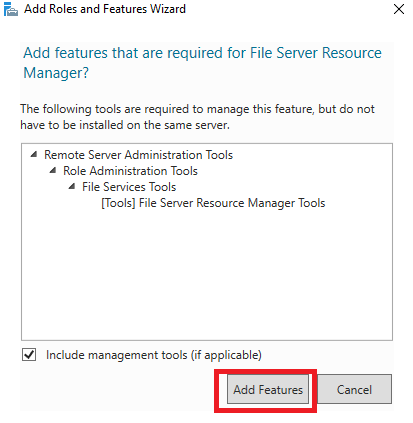
Step 6. Once you click "file server resource manager" you will see the message in this step click "add features".
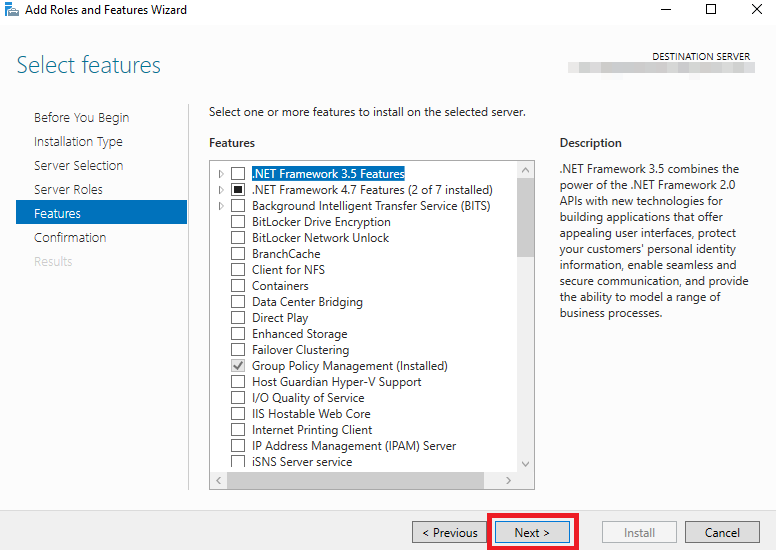
Step 7. Click "next".
Step 8. Click "next".
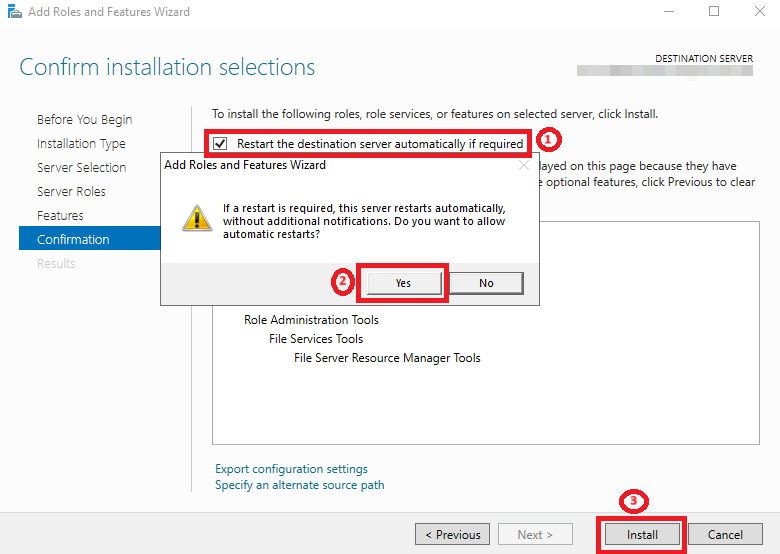
Step 9. Click the "restart" option, and then you will get the warring message. After that click "yes" and then click "install".
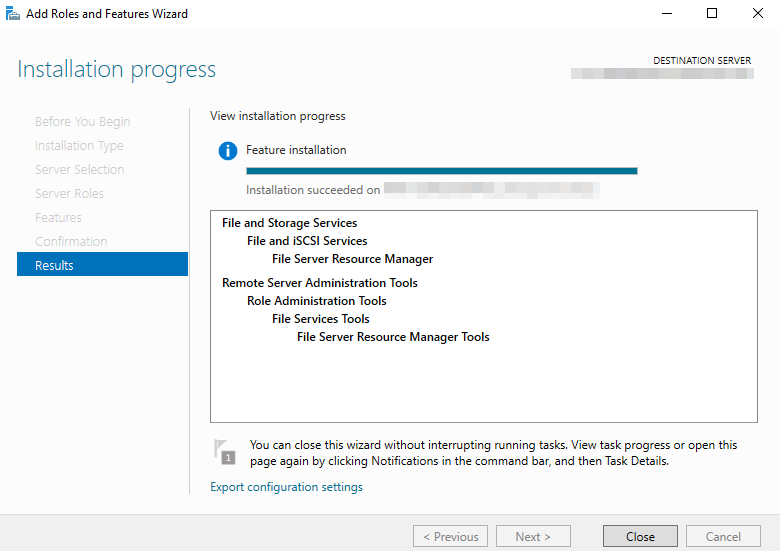
Step 10. After that, you can see the installed wizard.
Conclusion
In this article, we all clearly understand how to install the file server resource manager in a proper method. If there is clarification regarding this topic, feel free to contact me.