Today's article will teach you how to uninstall Internet Information Services 8 (IIS8) from Windows Server 2012.

Step 1
To begin, enter your password into your Windows Server 2012 as Administrator. If your Server Manager does not launch automatically after logging in, open it by clicking the first button in the task bar.
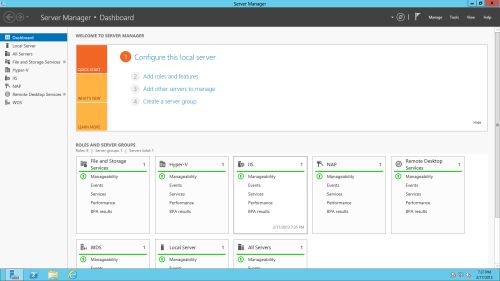
When you launch the Server Manager, the following window will appear:
Step 2
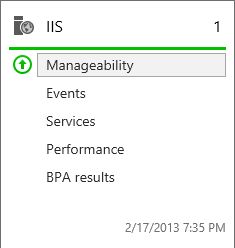
On the Server manager you will see that IIS is already installed.
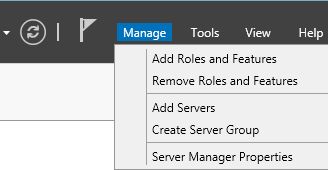
To remove the IIS go to the Manage option on the upper right hand corner and click on "Remove Rolls and Features".
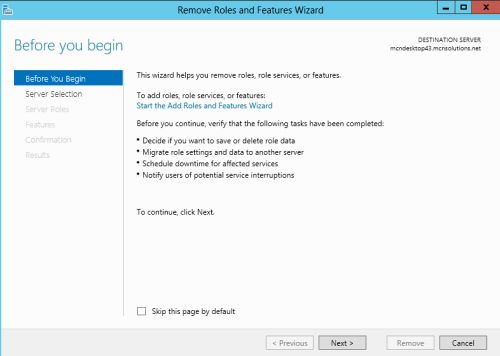
Step 3
Now a Window will be opened that will inform you that you are going to removing the section. Just click on "Next" to proceed.
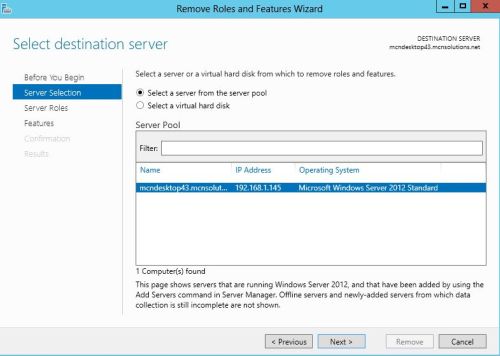
After that you must select a Server from the Server Pool. Since I have only one Server in this article, my default Server is Automatically selected.
Step 4
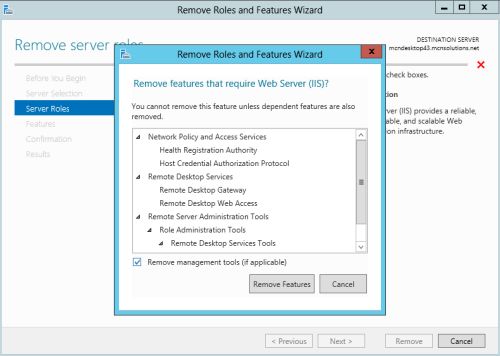
Once you click Next you will get a list (Rolls) from which click on the Web Server (IIS).

Now click "Next", then one more Window will open that will ask for permission to remove the features.
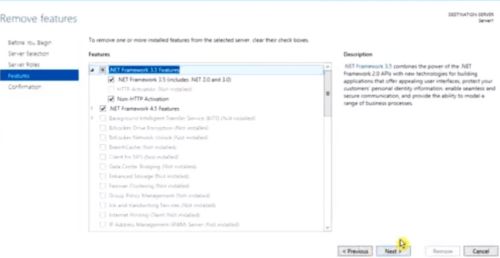
Step 5
You can select the features that are associated with IIS to be removed.
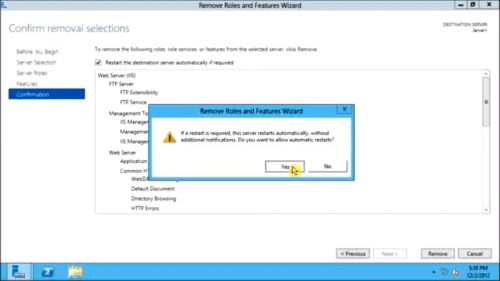
After clicking Next you must give permission to restart the server automatically if it's considered necessary, then click on "Next".
Step 6
Click on the "Remove" button and the process will begin.

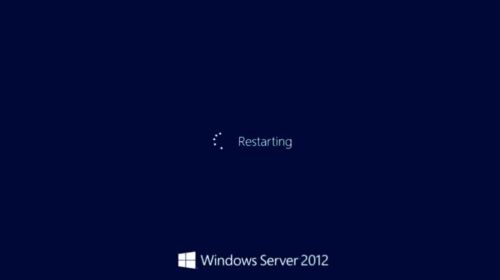
When the removal process is complete, your Windows Server 2012 will be restarted because you already granted permission to do so.
Step 7
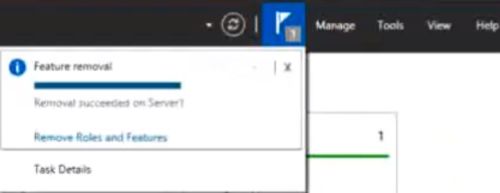
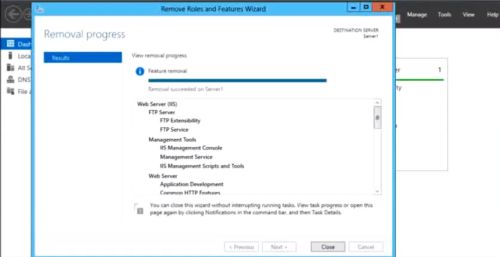
After restarting it will automatically show that the removal process had completed successfully.
You can also check this on the Flag that is present on the above right hand corner. Click on the Flag and following confirmation will be shown,